October 1, 2019 Read more


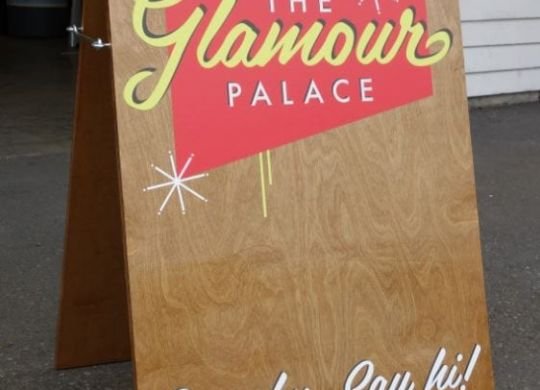
Exterior signs come in a variety of shapes and materials. Raised Letters make for a classy business sign.


Egyptian Sail Cloth Printed Banner. Vivid colors come alive on classy looking sailcloth material. https://signsofseattle.com/fabric-cloth-banner/

Raised 3-D Acrylic Graphics with Brushed Metal Laminate Facing. For the Mayor! https://signsofseattle.com/indoor-signs/

Effective use of real graphics with a live person. Cargo Van Wrap Graphics https://signsofseattle.com/cargo-van-wraps/